ADD UNIQUENESS TO YOUR MARKETING PIECES WITH COATINGS
Using a specialty coating on your marketing materials is like adding a unique flourish to your message. But, just as choosing the right colors and fonts is important, knowing how to use coatings in design is key.
Consider this your guide to mastering coatings:
WHY SHOULD I USE A COATING ON MY PRINT PIECE?
Adding a coating to your print project has several benefits. Firstly, coatings can help protect the printed piece.
Think about those mail items that look beaten up when they arrive. The postal service machines aren’t gentle—they scuff, scratch, and mark up designs. A coating can preserve your marketing piece and keep it looking fresh.
The same goes for materials handled by salespeople—they endure a lot of wear and tear. A coating can prolong their life and shield them from dirt and fingerprints.
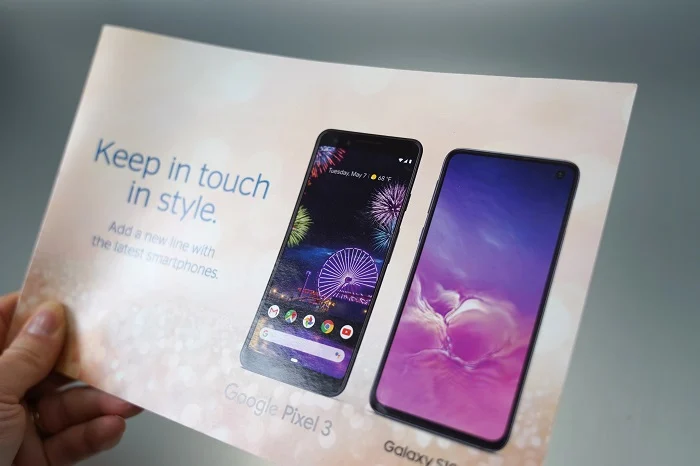
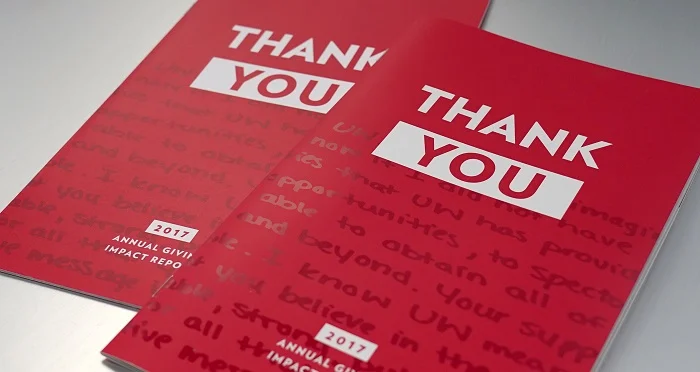
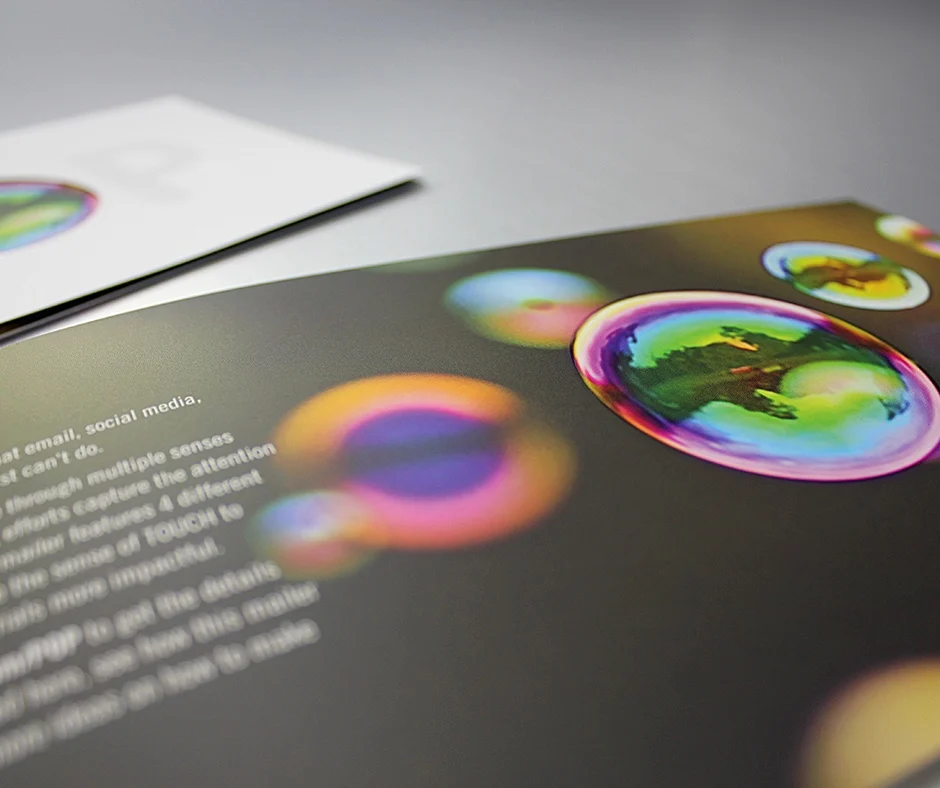
Coatings aren’t just for protection; they can also enhance your design. Want to draw attention to a specific image? A gloss coating can spotlight it. Need your text to be more readable? A dull coating reduces glare.
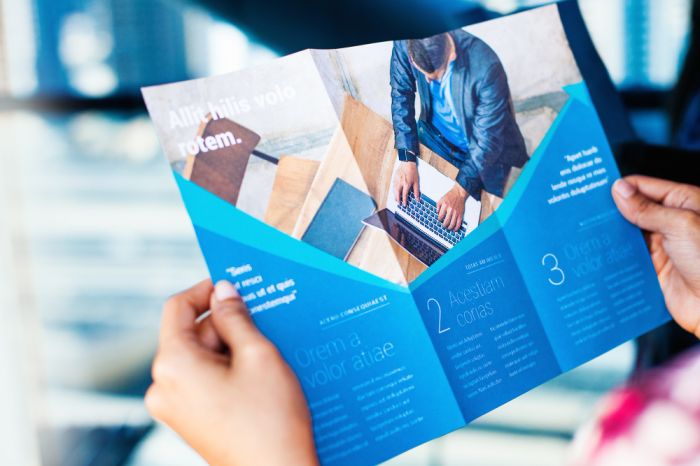
For instance, in the picture below, the booklet on the left has no coating, while the one on the right has a dull coating on the background and a gloss coating on the text. Coatings can even change how a piece feels in your hands.
EXPLORING COATING OPTIONS
What coating options do you have for printing? Here’s a simple breakdown:
Varnish: These are clear inks available in Gloss (shiny), Satin or Matte (dull) finishes. They’re applied to your print piece just like ink, using a plate. You can create varnish patterns in any design you want. However, varnish tends to yellow over time, so it’s not ideal for long-term storage.
2. Aqueous Coatings: These come in Gloss, Satin and Matte Finishes. Aqueous coating is great for protecting pieces that get handled a lot. It doesn’t yellow over time and is more eco-friendly since it’s water-based. Satin touch coating gives paper a luxurious, velvety texture, often used by luxury brands.
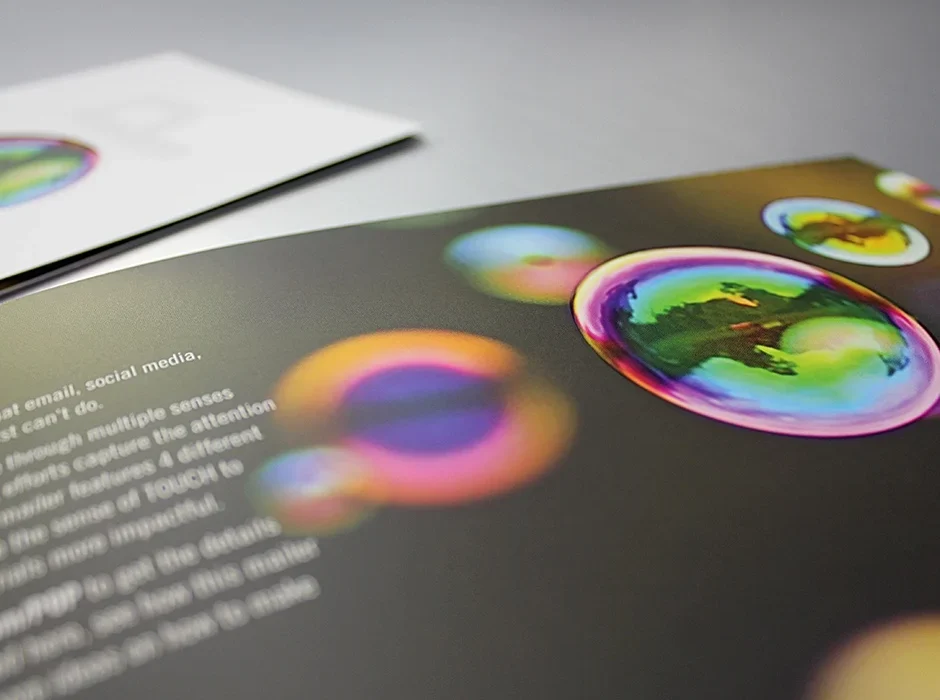
3. UV Coating : These need UV light to dry quickly. They provide a high gloss effect and excellent rub resistance. UV coatings offer various special effects:
Flood: Gives overall flat gloss effect, it can be use in place of plastic based lamination which is eco-friendly.
Raised: Creates raised areas, like water droplets.
Pearlescent or Glitter: Adds shine or sparkle.
Sandpaper or Grit: Gives a rough texture, great for outdoor themes.
Scratch-off: Conceals a code or prize.
Rub and Smell: Adds scents like bubble gum.
Glow in the Dark: Glows in the dark.
Thermochromic: Reveals hidden messages based on temperature.
Holographic: Adds unique rainbow patterns.
Note: Avoid UV coatings where you’ll inkjet addresses—they won’t dry properly. Spot UV coatings are pricier and may lengthen turnaround time, as they’re outsourced to specialty finishers.
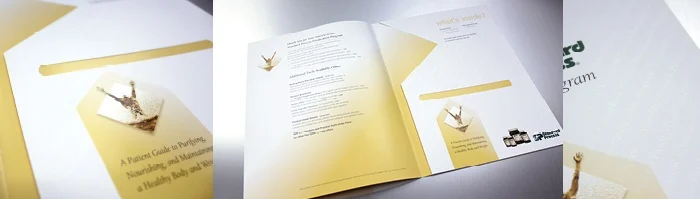
CAN I MIX AND MATCH COATINGS ON A SINGLE PRINT PIECE?
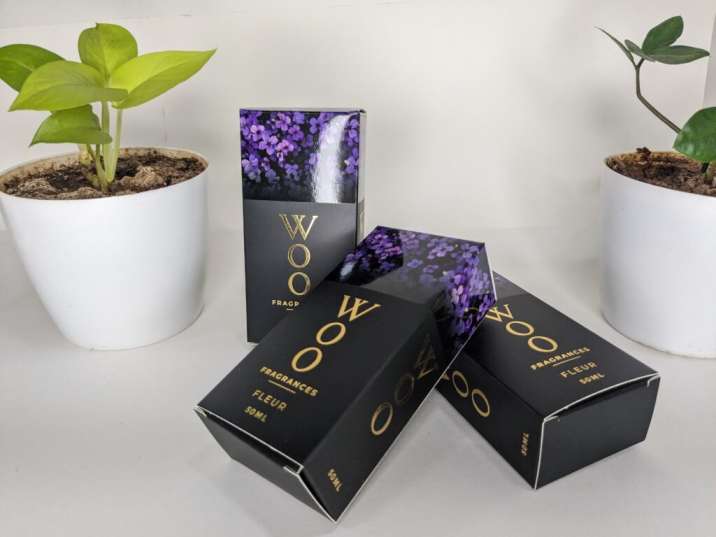
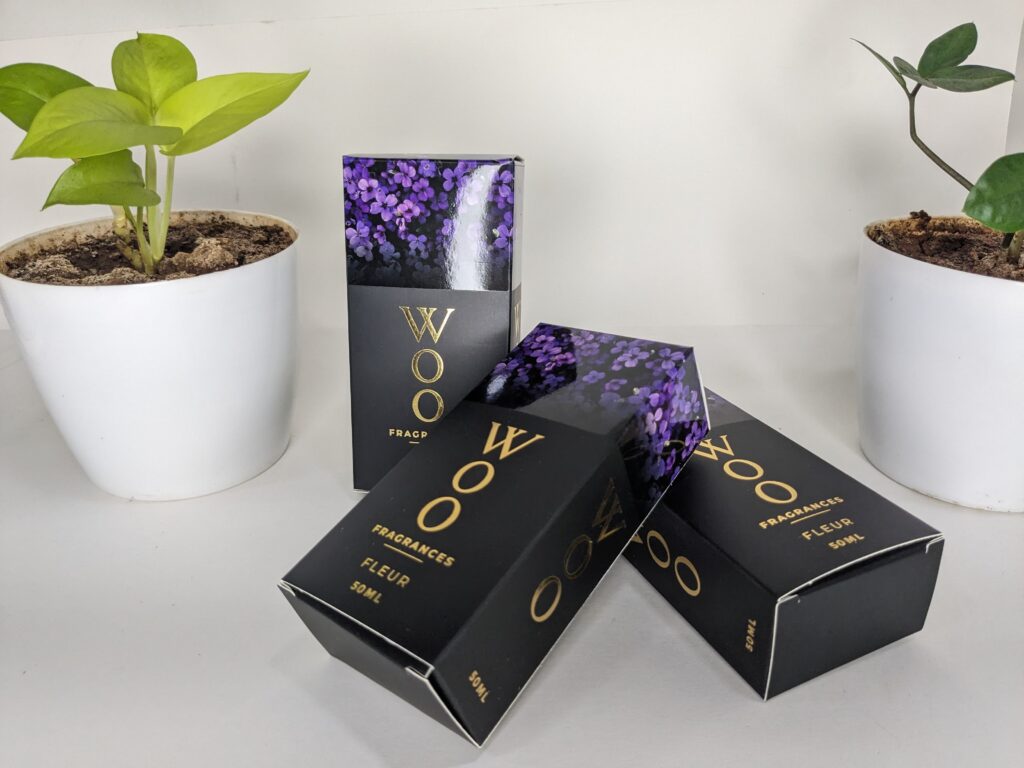
Sure! Imagine a fancy perfume brand. They wanted their packaging to feel really special and luxurious. So, we made the box feel soft and velvety to the touch using a special coating. Then, we made their brand logo and designs stand out with a shiny, glossy coating. It made their packaging look and feel amazing!
HOW DO I DESIGN FOR COATINGS ON A PRINT PIECE IN ADOBE?
Coatings are usually applied in two ways: flood (covering the entire paper) or spot (only on specific areas).
For flood coats, you just need to tell your printer—no special file is required.
For spot UV, you’ll need to create custom spot colors in Adobe swatches (like 100% Cyan or 100% Magenta) and label them as the coatings you want, such as “Spot UV” or “Raised UV”. Then, create a “Coatings” layer in your design file and apply the coatings using these custom spot colors.
ARE THERE ANY CASES WHEN I SHOULD NOT USE A COATING?
Sometimes, it’s best for paper to go without any coating.
For instance, if you want your recipient to be able to write on your final printed piece, like branded notepads or notecards, coatings don’t work well with pencil or pen ink, so it’s best to skip them.
Likewise, if you’re mailing your marketing piece, it’s smart to leave the address block free of coatings. That way, the addressing ink will dry properly and won’t rub off.
Still unsure about coatings? Don’t worry! Connect with our design expert for help. We can show you real samples so you can see and feel the options for yourself!
ADD UNIQUENESS TO YOUR MARKETING PIECES WITH COATINGS
Using a specialty coating on your marketing materials is like adding a unique flourish to your message. But, just as choosing the right colors and fonts is important, knowing how to use coatings in design is key.
Consider this your guide to mastering coatings:
WHY SHOULD I USE A COATING ON MY PRINT PIECE?
Adding a coating to your print project has several benefits. Firstly, coatings can help protect the printed piece.
Think about those mail items that look beaten up when they arrive. The postal service machines aren’t gentle—they scuff, scratch, and mark up designs. A coating can preserve your marketing piece and keep it looking fresh.
The same goes for materials handled by salespeople—they endure a lot of wear and tear. A coating can prolong their life and shield them from dirt and fingerprints.
Coatings aren’t just for protection; they can also enhance your design. Want to draw attention to a specific image? A gloss coating can spotlight it. Need your text to be more readable? A dull coating reduces glare.
For instance, in the picture below, the booklet on the left has no coating, while the one on the right has a dull coating on the background and a gloss coating on the text. Coatings can even change how a piece feels in your hands.
EXPLORING COATING OPTIONS
What coating options do you have for printing? Here’s a simple breakdown:
Varnish: These are clear inks available in Gloss (shiny), Satin or Matte (dull) finishes. They’re applied to your print piece just like ink, using a plate. You can create varnish patterns in any design you want. However, varnish tends to yellow over time, so it’s not ideal for long-term storage.
2. Aqueous Coatings: These come in Gloss, Satin and Matte Finishes. Aqueous coating is great for protecting pieces that get handled a lot. It doesn’t yellow over time and is more eco-friendly since it’s water-based. Satin touch coating gives paper a luxurious, velvety texture, often used by luxury brands.
3. UV Coating : These need UV light to dry quickly. They provide a high gloss effect and excellent rub resistance. UV coatings offer various special effects:
Flood: Gives overall flat gloss effect, it can be use in place of plastic based lamination which is eco-friendly.
Raised: Creates raised areas, like water droplets.
Pearlescent or Glitter: Adds shine or sparkle.
Sandpaper or Grit: Gives a rough texture, great for outdoor themes.
Scratch-off: Conceals a code or prize.
Rub and Smell: Adds scents like bubble gum.
Glow in the Dark: Glows in the dark.
Thermochromic: Reveals hidden messages based on temperature.
Holographic: Adds unique rainbow patterns.
Note: Avoid UV coatings where you’ll inkjet addresses—they won’t dry properly. Spot UV coatings are pricier and may lengthen turnaround time, as they’re outsourced to specialty finishers.
CAN I MIX AND MATCH COATINGS ON A SINGLE PRINT PIECE?
Sure! Imagine a fancy perfume brand. They wanted their packaging to feel really special and luxurious. So, we made the box feel soft and velvety to the touch using a special coating. Then, we made their brand logo and designs stand out with a shiny, glossy coating. It made their packaging look and feel amazing!
HOW DO I DESIGN FOR COATINGS ON A PRINT PIECE IN ADOBE?
Coatings are usually applied in two ways: flood (covering the entire paper) or spot (only on specific areas).
For flood coats, you just need to tell your printer—no special file is required.
For spot UV, you’ll need to create custom spot colors in Adobe swatches (like 100% Cyan or 100% Magenta) and label them as the coatings you want, such as “Spot UV” or “Raised UV”. Then, create a “Coatings” layer in your design file and apply the coatings using these custom spot colors.
ARE THERE ANY CASES WHEN I SHOULD NOT USE A COATING?
When using a deep black on a material such as light paper, the ink might bleed and damage the paper’s structure. With lighter stock, sometimes the material isn’t dense enough to hold large volumes of ink.
CHOICE OF PMS OR SPOT COLOR:
Sometimes, it’s best for paper to go without any coating.
For instance, if you want your recipient to be able to write on your final printed piece, like branded notepads or notecards, coatings don’t work well with pencil or pen ink, so it’s best to skip them.
Likewise, if you’re mailing your marketing piece, it’s smart to leave the address block free of coatings. That way, the addressing ink will dry properly and won’t rub off.
Still unsure about coatings? Don’t worry! Connect with our design expert for help. We can show you real samples so you can see and feel the options for yourself!