HOW TO DESIGN PRINT MATERIALS FOR FOIL STAMPING
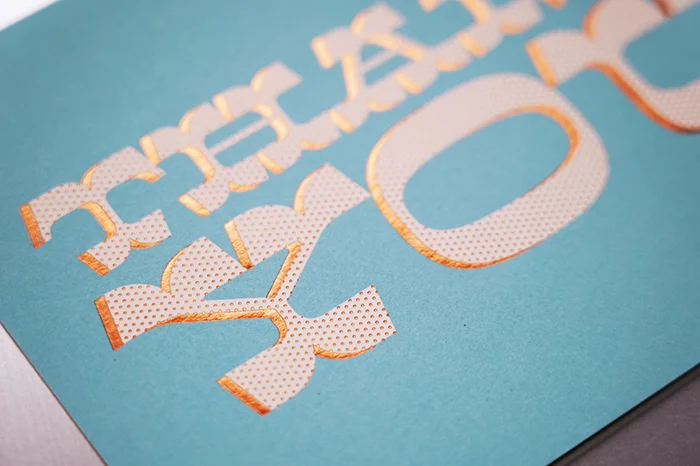
Metallics in design and fashion have been popular since 2019 and seem to be staying in style for years to come. This holiday season, like many other companies, we added shiny copper foil to eight different thank-you cards. Since most designers are new to using foil, we wanted to share our top tips for designing print with foil stamping.
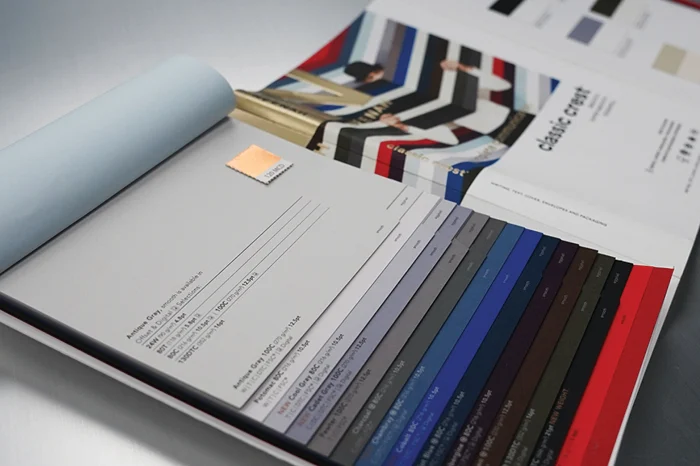
1.CHOOSE A SMOOTH PAPER
Selecting smooth paper is key for achieving optimal foil results. Textured or uneven papers can cause issues with how smoothly the foil adheres. Additionally, thicker papers tend to perform better, so opting for a smooth, thicker paper is advisable.
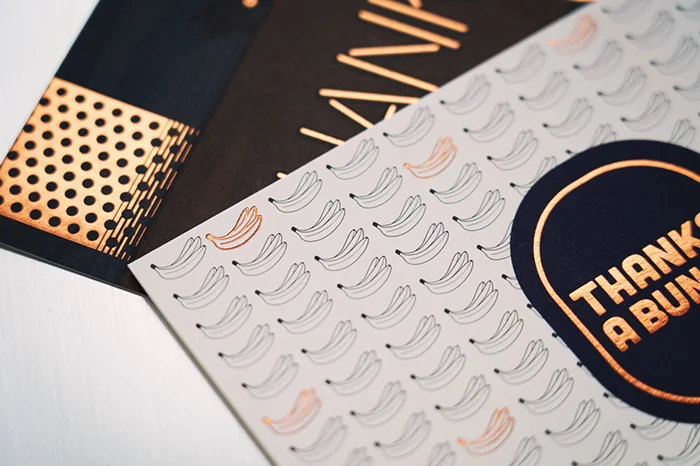
2. AVOID FINE LINES
To prevent fine lines from getting lost in the stamping process, keep all foil designs at least 0.5 pt in thickness. Additionally, small spaces in text may fill in during stamping, so aim for a minimum font size of 8 pt for most fonts.
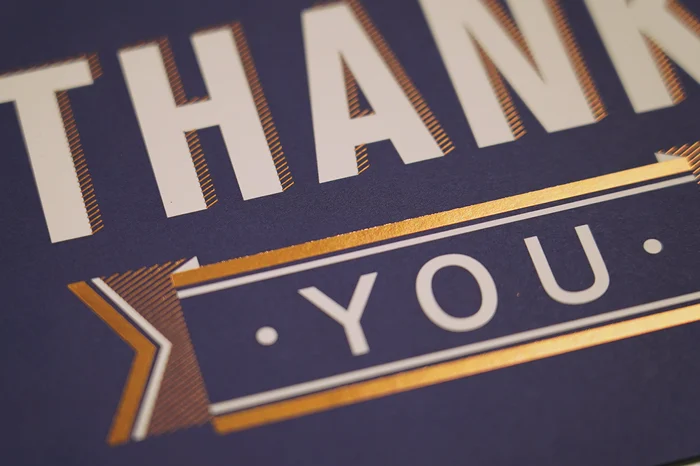
3. WATCH YOUR REGISTRATION
Stamping foil can be a bit finicky—it might shift during the process, making it tough to align perfectly with ink. But don’t worry! Using foil over solid colors or patterns reduces the chance of mishaps. Now, if your foil design features intricate lettering with empty spaces, that’s where things get really exciting. The stamper needs to be extra meticulous to ensure the foil stays put. This attention to detail might slow down the press a bit, but trust us, the stunning results are worth it!
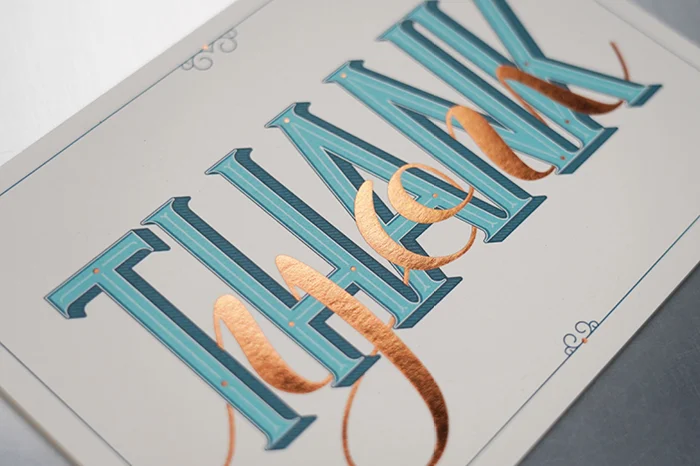
4. COVERAGE AFFECTS PRICE
The bigger your foil design, the more it’ll cost. Foil is applied using heat and pressure from a stamping die. If your design is smaller, you can save by cutting down the foil. But if you have a foil border all around, it’ll be pricey since it can’t be trimmed.
5. TEXTURE MATTERS
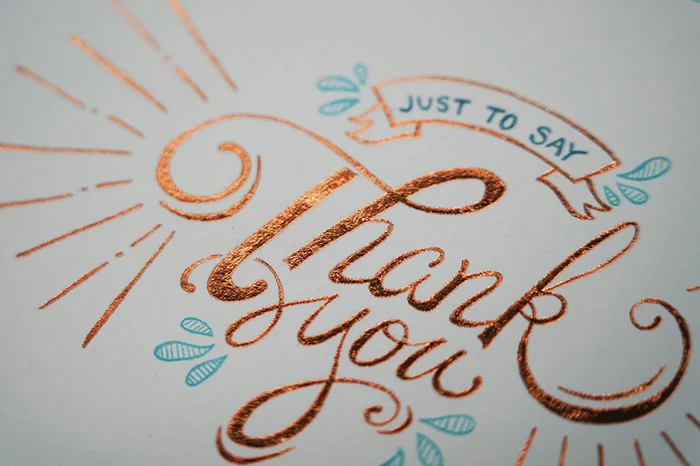
If you’re hand-drawing a foil design, keep in mind that all textures will shine through in the final foil. For a sleeker finish, consider converting your illustration to flat artwork.
6. PRESS CHECK YOUR FOIL
If you want to check your foil application, here are a few things to look for:
- Confirm the foil color matches your design.
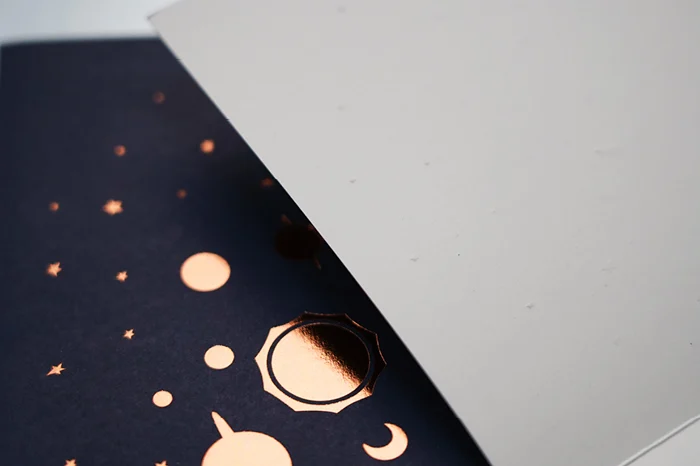
- Check the impression: too much pressure might cause shapes to punch through the paper.
- Ensure perfect alignment and registration for a flawless finish.
7. CONSULT WITH YOUR PRINT PROVIDER
For the best results, let the printer’s team review your artwork before finalizing it. They can provide helpful suggestions and spot any potential issues.
Looking for inspiration? Request some samples to see the power of foil stamping in person.
Don’t miss out on the chance to elevate your print projects!
Recent Posts
HOW TO DESIGN PRINT MATERIALS FOR FOIL STAMPING

Metallics in design and fashion have been popular since 2019 and seem to be staying in style for years to come. This holiday season, like many other companies, we added shiny copper foil to eight different thank-you cards. Since most designers are new to using foil, we wanted to share our top tips for designing print with foil stamping.

1.CHOOSE A SMOOTH PAPER
Selecting smooth paper is key for achieving optimal foil results. Textured or uneven papers can cause issues with how smoothly the foil adheres. Additionally, thicker papers tend to perform better, so opting for a smooth, thicker paper is advisable.

2. AVOID FINE LINES
To prevent fine lines from getting lost in the stamping process, keep all foil designs at least 0.5 pt in thickness. Additionally, small spaces in text may fill in during stamping, so aim for a minimum font size of 8 pt for most fonts.

3. WATCH YOUR REGISTRATION
Stamping foil can be a bit finicky—it might shift during the process, making it tough to align perfectly with ink. But don’t worry! Using foil over solid colors or patterns reduces the chance of mishaps. Now, if your foil design features intricate lettering with empty spaces, that’s where things get really exciting. The stamper needs to be extra meticulous to ensure the foil stays put. This attention to detail might slow down the press a bit, but trust us, the stunning results are worth it!

4. COVERAGE AFFECTS PRICE
The bigger your foil design, the more it’ll cost. Foil is applied using heat and pressure from a stamping die. If your design is smaller, you can save by cutting down the foil. But if you have a foil border all around, it’ll be pricey since it can’t be trimmed.

5. TEXTURE MATTERS
If you’re hand-drawing a foil design, keep in mind that all textures will shine through in the final foil. For a sleeker finish, consider converting your illustration to flat artwork.

6. PRESS CHECK YOUR FOIL
If you want to check your foil application, here are a few things to look for:
- Confirm the foil color matches your design.
- Check the impression: too much pressure might cause shapes to punch through the paper.
- Ensure perfect alignment and registration for a flawless finish.
7. CONSULT WITH YOUR PRINT PROVIDER
For the best results, let the printer’s team review your artwork before finalizing it. They can provide helpful suggestions and spot any potential issues.
Looking for inspiration? Request some samples to see the power of foil stamping in person.
Don’t miss out on the chance to elevate your print projects!

