SADDLE-STITCH OR PERFECT BIND: WHICH OPTION SHOULD YOU CHOOSE?

Trying to decide how to bind your multi-page marketing piece? Compare saddle-stitching and perfect binding to find the right fit. Check out the advantages and disadvantages of each method below.

SADDLE-STITCH
Saddle-stitching, or “stitching,” involves securing a booklet with two metal staples. Ideal for smaller booklets, typically 8 to 64 pages, it’s a cost-effective binding method often used for wall calendars, magazines and catalogues.
To use saddle-stitching, your booklet’s pages must be laid out in two-page spreads, requiring a page count in multiples of four (front and back pages). The staple always goes in the middle of a two-page spread, so the page count must be divisible by four.
With saddle-stitching, there’s no printing on the spine as it’s just a fold with staples. However, the booklet can lay flat when opened and since no glue is used, it’s ready for immediate use and shipping after stitching.
PERFECT BINDING
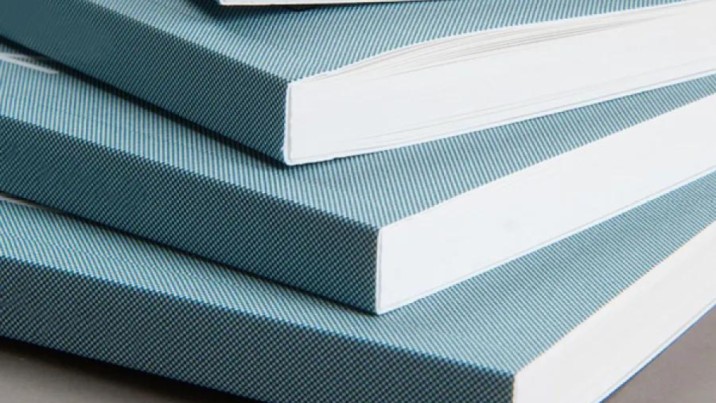
Perfect binding involves folding and gluing pages to create a flat spine, with a cover wrapped around it. It’s suitable for page counts from 28 up to 250 pages and is commonly used for softcover books, product catalogs, and yearbooks.
Pages in perfect binding are designed in multiples of two (front and back pages). While there’s space on the spine to print a title, perfect-bound books cannot lay flat, making them less suitable for cookbooks or instruction manuals where pages need to stay open for extended periods.
Keep in mind that some space is lost on interior pages due to gluing, so include a large interior margin on two-page spreads and avoid placing vital information near the spine. Additionally, allow 24 hours for glue to cure before using perfect-bound books, which adds to the turnaround time for this process.
These are just two of the ways we can bind a multi-page marketing project. For all 14 of your binding options, download our free Binding Cheat Sheet.
