WHAT GRAPHIC DESIGNERS SHOULD KNOW ABOUT DIE CUTTING
When designing for print, it’s not just about squares and rectangles. It’s about being creative and thinking outside the box—literally. Sometimes, that means cutting outside the lines using die cutting.
WHAT'S DIE CUTTING?
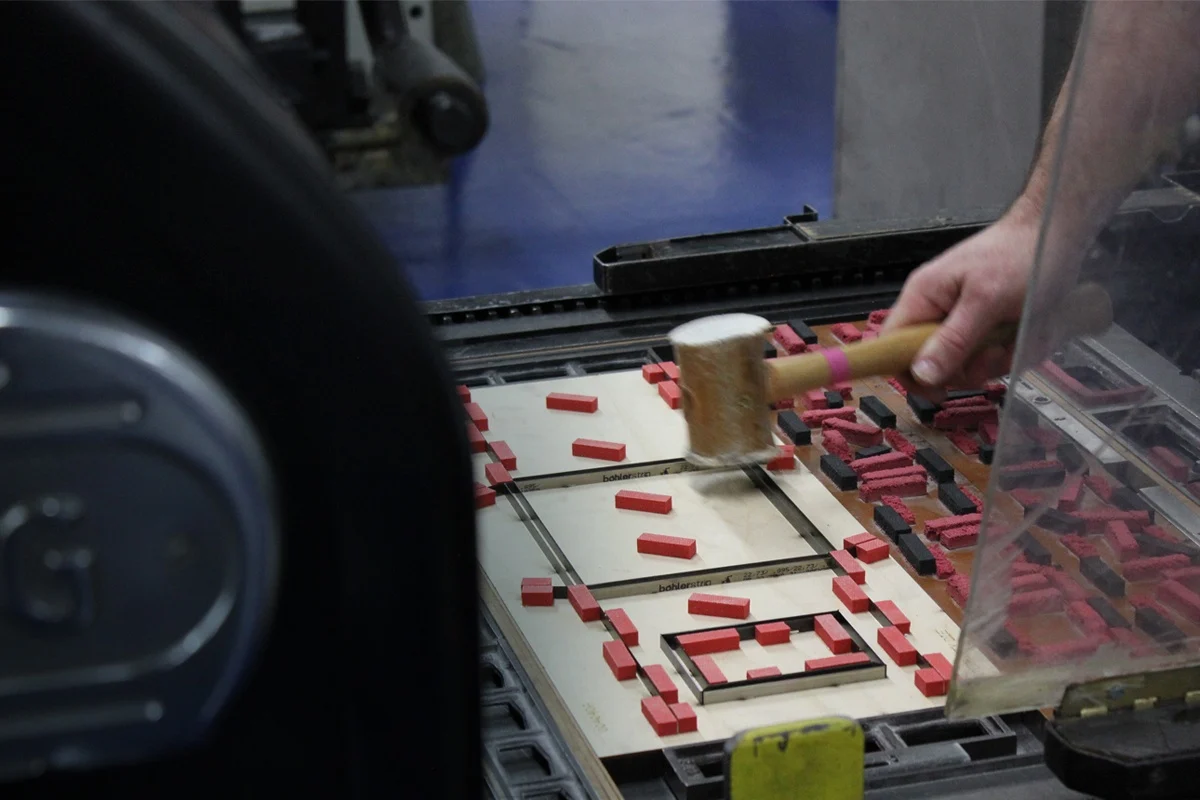
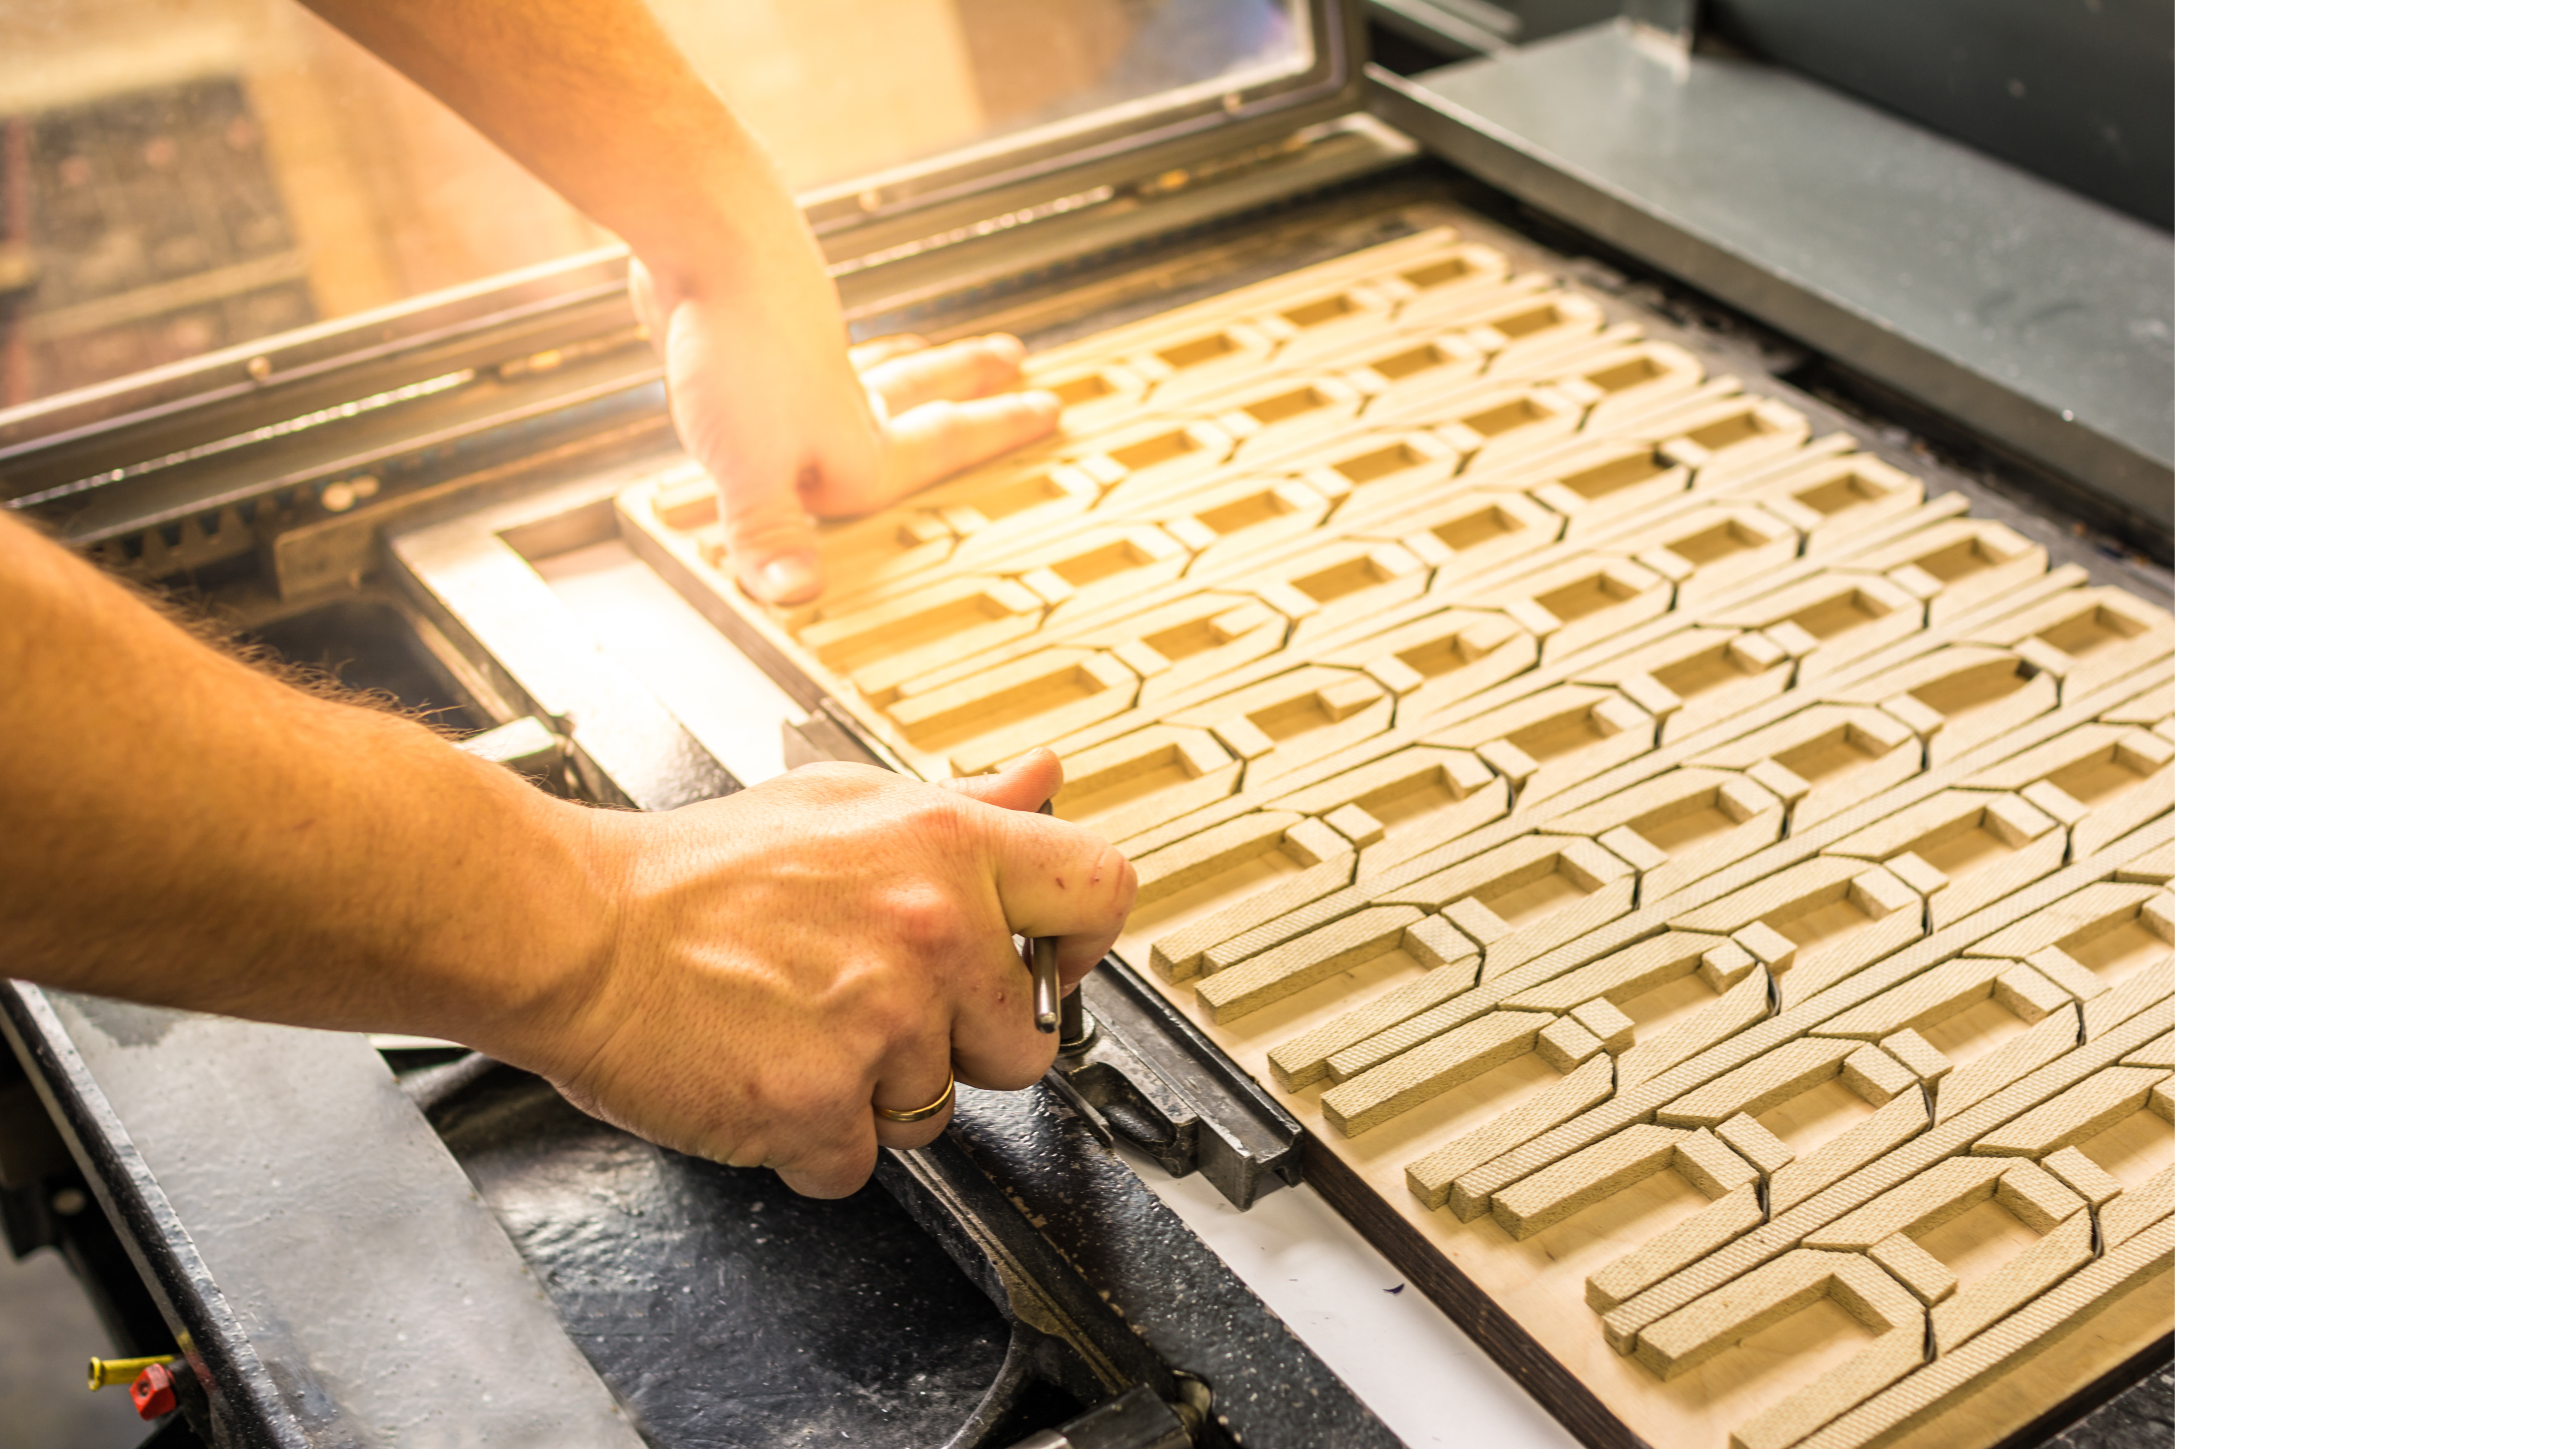
Die cutting is a process where sharp metal edges are pressed into flat materials to cut or shape them in specific ways. It’s like using a cookie cutter, but for paper instead of dough. Die cutting serves various purposes, from trimming materials to shaping them into unique forms and adding perforations for easy tearing.
UNDERSTANDING DIELINES

A dieline is the blueprint for die cutting. It’s a vector file that indicates where cuts, perforations, and folds should be made on the material. Think of it as the map guiding the metal plate (the die) to shape your printed piece accurately. Providing a clear dieline ensures that your design functions as intended.

DO YOU ALWAYS NEED TO BUY A DIE?
Not always. Simple cuts, scores and perforations along the sheet’s edges can be done without a die. But when your design includes curves, bends or stops before an edge, die cutting is necessary. Die cutting used to be for large print runs due to costs, but it’s now more accessible even for shorter runs, including digital printing.
WHAT INFLUENCES DIE COSTS?
Die costs depend on your design complexity and finishing options. For instance, if your design needs waste sections removed, you might require a special knockout die or incur extra labor costs. Talking with your printer can help find the most cost-effective solution.
SETTING UP DIELINESS
When you’re getting files ready for die cutting, it’s important to keep the cutting lines separate from the rest of the design. Here’s how:
First, you can make a special color in the file. Give it a name like “cut” or “fold” so it’s easy to see. This color helps the printer know where to cut or fold your design. Choose a color that really stands out, so it’s clear.
Another way is to put the cutting lines on their own layer in the design file. This makes it easy to hide them while you’re working on the design. Just remember to show them again before you send the file to print! It’s like keeping your cutting lines in their own folder. Easy, right?
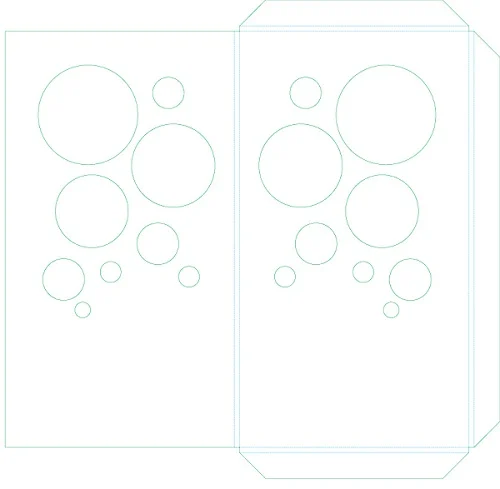
Here’s a peek at what a dieline layer might look like:
To make things easier for future designs, you can save your dieline spot colors in Adobe’s library feature. Check with your print provider to see if they have a preferred set you can use for extra reliability.
Before sending your designs off, it’s crucial to proof the dielines by folding a prototype. Use a similar stock to your final printed piece to catch any mistakes and adjust for material thickness.
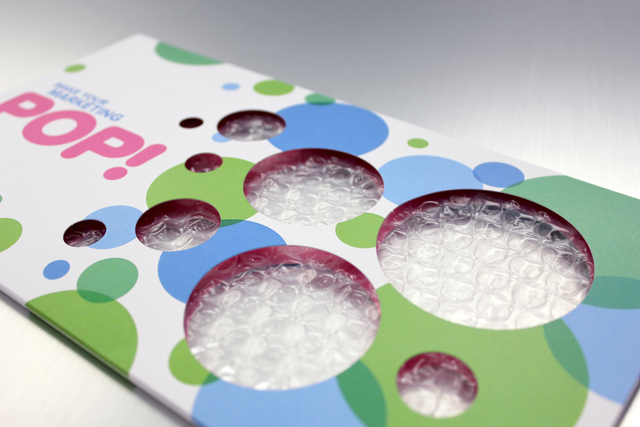
With thicker paper stocks, you might need to use a capacity, which means two parallel folds next to each other, to fold the material completely in half. For instance, the dieline above used a capacity on all four sides to enclose a sheet of bubble wrap. Here’s the final piece:
It might take a couple of tries to get everything just right. Once you’re happy with how your design folds, having a finished prototype is great to show your print provider. It helps clear up any questions they might have about the artwork before they start printing.
Understanding dielines and how they work can be a big help. You can play around with different kinds of paper and shapes to see what works best for your design. The possibilities are endless!
When you have a rough dieline ready, you can ask for a price estimate for printing and die cutting. And if you’re not sure how to make a dieline, our Creative team can help. They’ve got lots of experience making them.
Recent Posts
WHAT GRAPHIC DESIGNERS SHOULD KNOW ABOUT DIE CUTTING
When designing for print, it’s not just about squares and rectangles. It’s about being creative and thinking outside the box—literally. Sometimes, that means cutting outside the lines using die cutting.
WHAT'S DIE CUTTING?
Die cutting is a process where sharp metal edges are pressed into flat materials to cut or shape them in specific ways. It’s like using a cookie cutter, but for paper instead of dough. Die cutting serves various purposes, from trimming materials to shaping them into unique forms and adding perforations for easy tearing.
UNDERSTANDING DIELINES
A dieline is the blueprint for die cutting. It’s a vector file that indicates where cuts, perforations, and folds should be made on the material. Think of it as the map guiding the metal plate (the die) to shape your printed piece accurately. Providing a clear dieline ensures that your design functions as intended.
DO YOU ALWAYS NEED TO BUY A DIE?
Not always. Simple cuts, scores and perforations along the sheet’s edges can be done without a die. But when your design includes curves, bends or stops before an edge, die cutting is necessary. Die cutting used to be for large print runs due to costs, but it’s now more accessible even for shorter runs, including digital printing.
WHAT INFLUENCES DIE COSTS?
Die costs depend on your design complexity and finishing options. For instance, if your design needs waste sections removed, you might require a special knockout die or incur extra labor costs. Talking with your printer can help find the most cost-effective solution.
SETTING UP DIELINESS
When you’re getting files ready for die cutting, it’s important to keep the cutting lines separate from the rest of the design. Here’s how:
First, you can make a special color in the file. Give it a name like “cut” or “fold” so it’s easy to see. This color helps the printer know where to cut or fold your design. Choose a color that really stands out, so it’s clear.
Another way is to put the cutting lines on their own layer in the design file. This makes it easy to hide them while you’re working on the design. Just remember to show them again before you send the file to print! It’s like keeping your cutting lines in their own folder. Easy, right?
Here’s a peek at what a dieline layer might look like:

To make things easier for future designs, you can save your dieline spot colors in Adobe’s library feature. Check with your print provider to see if they have a preferred set you can use for extra reliability.
Before sending your designs off, it’s crucial to proof the dielines by folding a prototype. Use a similar stock to your final printed piece to catch any mistakes and adjust for material thickness.
With thicker paper stocks, you might need to use a capacity, which means two parallel folds next to each other, to fold the material completely in half. For instance, the dieline above used a capacity on all four sides to enclose a sheet of bubble wrap. Here’s the final piece:

It might take a couple of tries to get everything just right. Once you’re happy with how your design folds, having a finished prototype is great to show your print provider. It helps clear up any questions they might have about the artwork before they start printing.
Understanding dielines and how they work can be a big help. You can play around with different kinds of paper and shapes to see what works best for your design. The possibilities are endless!
When you have a rough dieline ready, you can ask for a price estimate for printing and die cutting. And if you’re not sure how to make a dieline, our Creative team can help. They’ve got lots of experience making them.
